
One day I'll get around to it.
Eventually...
I loooove nice, big, chunky trim though! I'm a history junkie, even had an internship at a historic home giving tours. I loved that "job." And I love that house! It was Blount Mansion, if you're at all interested. And there are several old houses that I've visited (Biltmore, anybody!?) and I ooh and aaah in every room. But I love the molding put into the millwork in these hold houses. Blount Mansion has very simple molding compared to the intricate work on the Biltmore, but the point is that it was made with the house in mind, specifically for that space. It wasn't just basic stuff that was put onto the house as an afterthought. I think that makes the difference between blah trim and trim that makes you blink and take a second look.
As for the trim work in our house.. it isn't bad by any means, but it's the basic builder "upgraded" type. The 2 1/4" molded trim on the doors and windows, basic baseboards on all the rooms, shoe molding in the hallway. Except the passthrough doors that connect the foyer, kitchen, and living room. They were wrapped in baseboard, but the rest was finished in drywall.
 |
| Yes, our Christmas tree is still up. No judging, folks. |
I've wanted to change our door and window trim to Craftsman style for a while now. I like the clean lines, and the look reminds me of an older house. Now, I love having a fairly new house (ours was built in 2000). It doesn't have the issues that an old house can have. But as nice as it is, it's a little.. lackluster.. aside from the hardwood floors. I love those floors).
I finally decided to bite the bullet and just do it.
 |
| I'm sorry, I had to. XD Seriously though, if you haven't seen this video, go watch it. It's hilarious! |
I got some lumber from Lowe's, packed it in the car and headed home to get my Amish on.
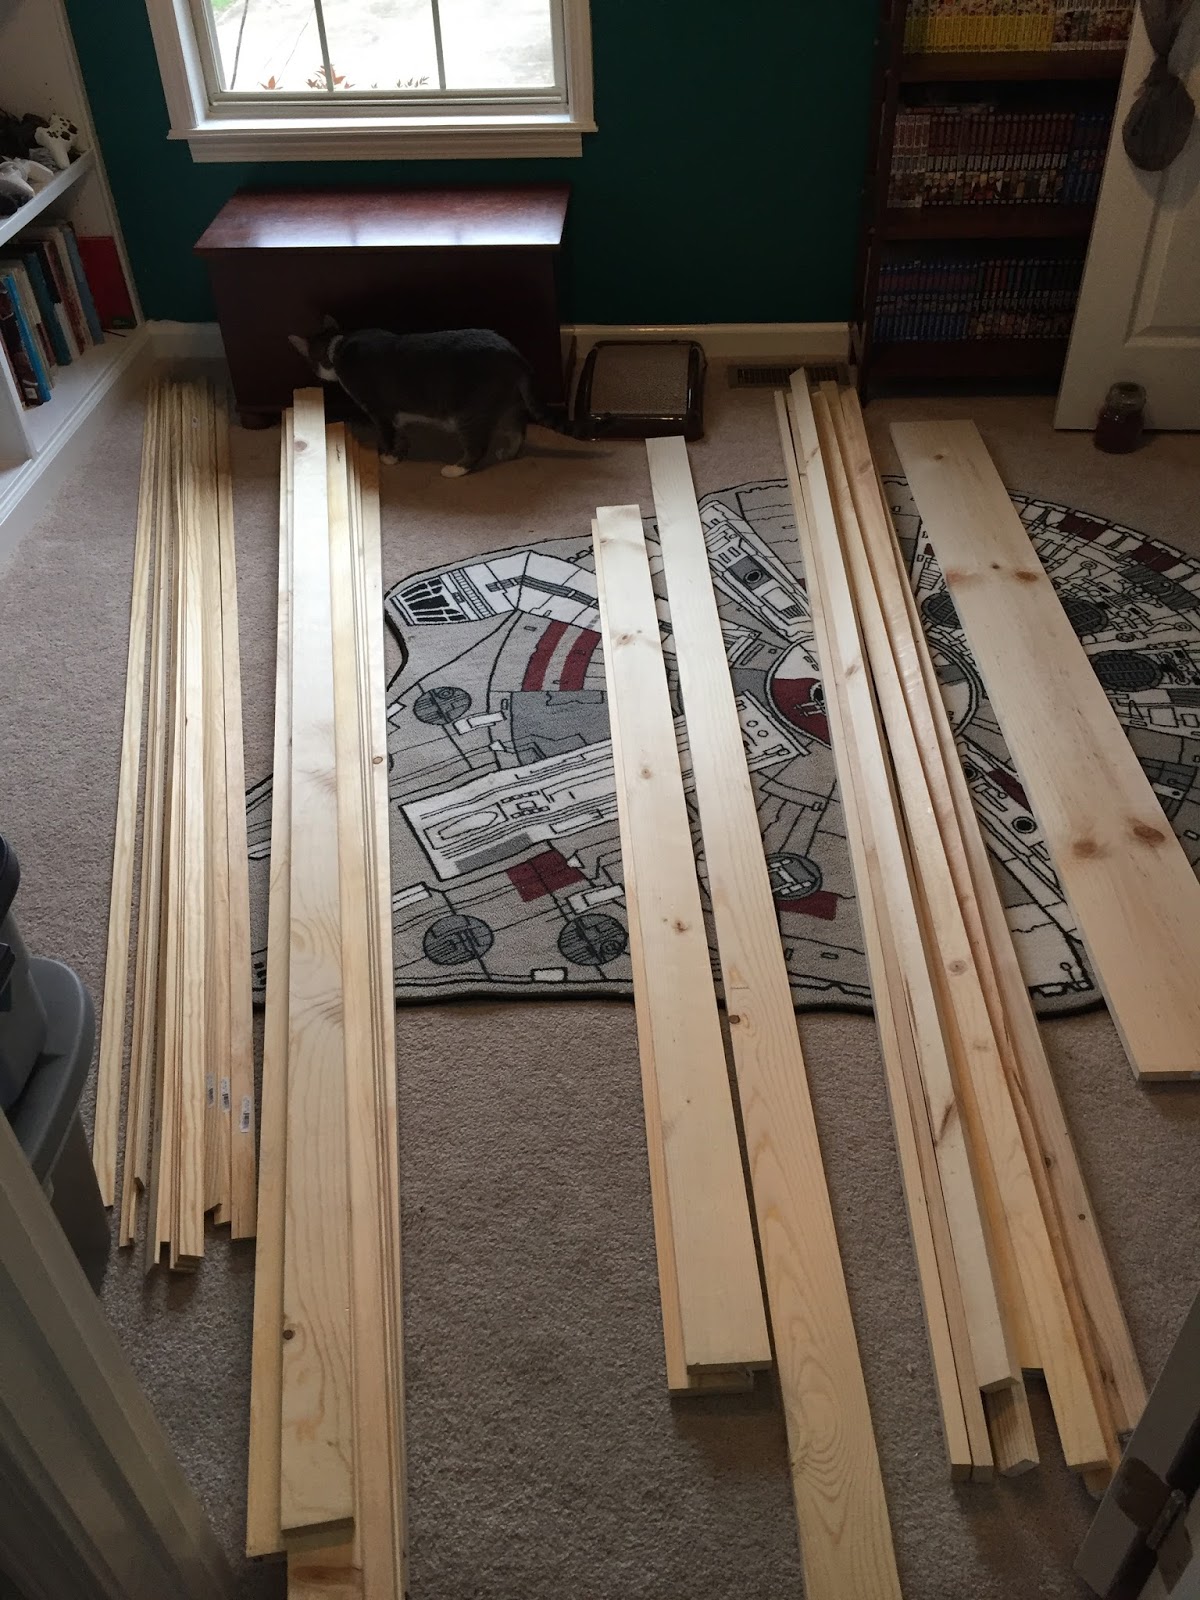 |
| Yes, that is a Millenium Falcon rug. It's ok if you're jealous. |
I don't have a nail gun, so I did all of this with a hammer. I have an air compressor! Just.. not the part that actually does stuff. It's on my "need this" list.
I didn't want to mess with the drywall. It's messy, and this is our main traffic path through the house. I knew this was is going to take a while, so I didn't want to have our hallway upset too much. So I looked around for opinions on whether I had to take the drywall off. Strangely, there's not much out there on the subject. I found one forum discussion where a couple people said it wasn't necessary, and that was good enough for me!
And then I considered adding a door jamb to the opening, but then realized that would make getting our fridge out a bit... impossible (God willing that won't be for a long time! We love that fridge). The opening is 38" now, and our fridge is 36". Tight squeeze as it is, no need to make that more difficult. So I nixed that plan.
And then I ran across this post on Pinterest from The Charming Nest. Door Casings the Easy Way, you say?! I'm all ears!!
Her casing turned out gorgeous! I'm doing mine a little different, but I was most interested in how she covered the edges where the casing met the drywall with lattice molding! Genius! Hence, the huge pile of lattice molding in the photo above.
So, here's some in progress photos. Not done yet, but I've definitely made some headway. It's winter now, and gets dark before we get home from work, so it's hard to do much during the week. Plus. It's cold out there, and I get warm kitten cuddles in the house..

 |
| Please ignore the sloppy paint job. Yes, I'm a little ashamed... |
It was here that I realized that the two doorways right next to each other were about a quarter inch different in height. That realization came just a hair too late to change the cut on the first board I installed. So the second one got an angle. That presented a problem with the 1x2 that sits on top of them, but I found a way to make it work (I think, still haven't sanded down and shaped all the wood putty yet).

I used my new jigsaw that I got for Christmas (thanks Mom and Dad!!) and shaved down a 1x2 so that it ended up kinda flush. Right around here is where I wished I'd had a compass to make the line for the next jigsaw cut. Now I'm depending on wood putty to make the 1x4's that sit on these to look right. Thankfully it's high up and not obviously the wreck that it totally is.

My Big Solution was to cut a piece of wood to make the bottom of that 2x4 flush with the one it's butting up against, and then curve it up. That got glued and clamped overnight, and right now it's covered in wood putty. I'll sand this one down and shape it so that it'll hopefully look more or less right.
Hopefully.
I'll let you know how that turns out.
But this is where we stand right now. Also, hubby makes a cameo appearance. Ain't he a handsome fella? =D


Here's the other side of the smaller door, from inside the kitchen.
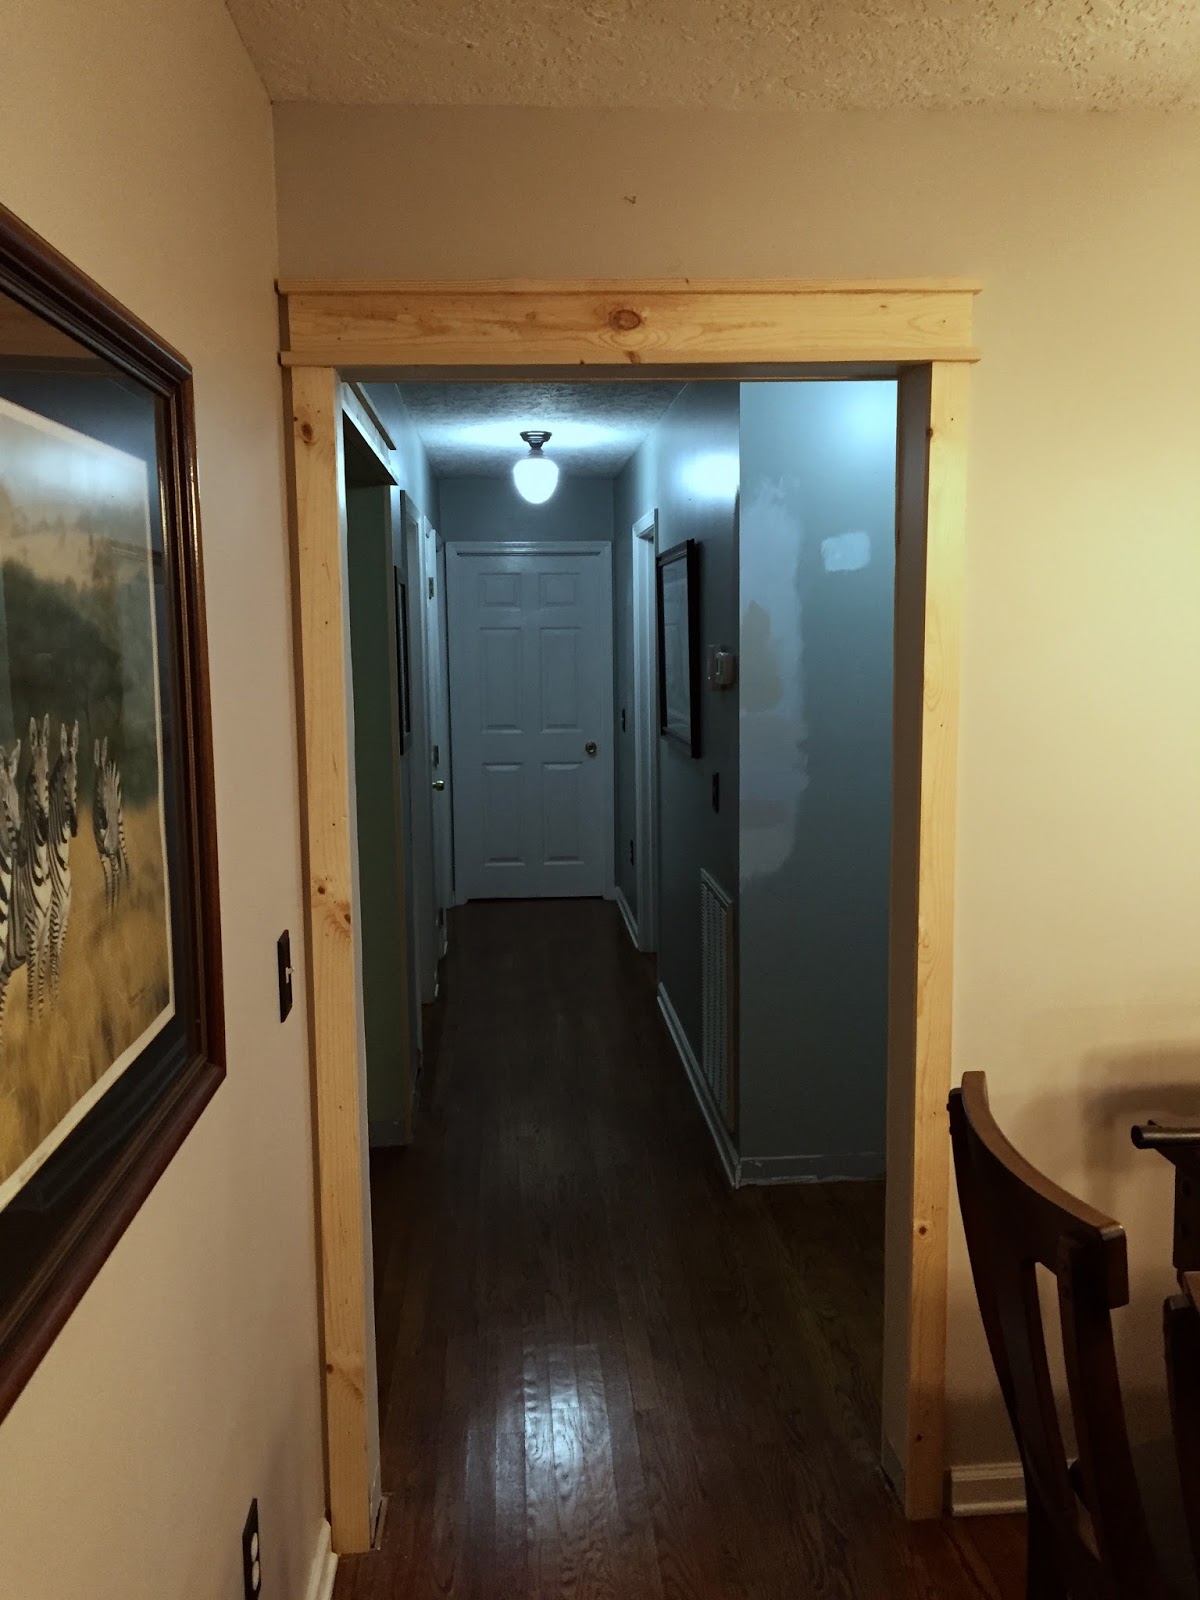
And here's a side by side with our current door trim. I definitely think the craftsman gives the hallway a lot more character!

Let's end with a before and after, shall we? It's not done, but it already looks a lot better! Can't wait to get this painted!


Stay tuned!!
Major Transformation --- You definitely have SKILLS girl --Proud of you and Tyler for LOVING YOUR HOME !
ReplyDelete